Introduction #
After over a decade of monitoring the consumer grade FDM space, I finally took the plunge and purchased a Bambu Lab X1 Carbon. I chose this largely based on the reputation of it being a plug and play type of solution and I didn’t want a new project to endlessly tinker with. In this post I’m going to go over what I printed, my first thoughts, and other observations.
What I Ordered #
I went with the full X1C Combo because the Automatic Material System (AMS) gives the ability to print in up to 4 colors, or have an automatic switch over when a spool of filament runs out, or just keep the filament in a dry enclosure.
In addition to the combo, I ordered two accessories - the anti-vibration feet and the Dual-texture PEI Plate. At $7.99 the feet felt like an easy choice regardless of any performance delta, and the extra plate was a convenience in case I had one plate out to be washed (this did not occur in my first week). The plate that comes with the printer is textured on both sides, so my backup plate also gives a smooth option in case that is ever something I need.
For filament, the order came with three rolls:
- PLA “Bambu Green”
- PLA “Jade White”
- PLA Support (“Nature” color white, which appears to be the only option)
The regular PLA rolls did not seem to be the full 1kG size since they both ran out within my first week, but this could just be that I was printing a lot. Seeing the quick speed at which I was running out of input materials, I ordered four separate replacement rolls on Amazon:
- SUNLU PLA - Black
- eSUN PLA+ - Fire Engine Red
- 3DHoJor PLA - Silk Gold
- eSun PLA+ - Cold White
What I Printed #
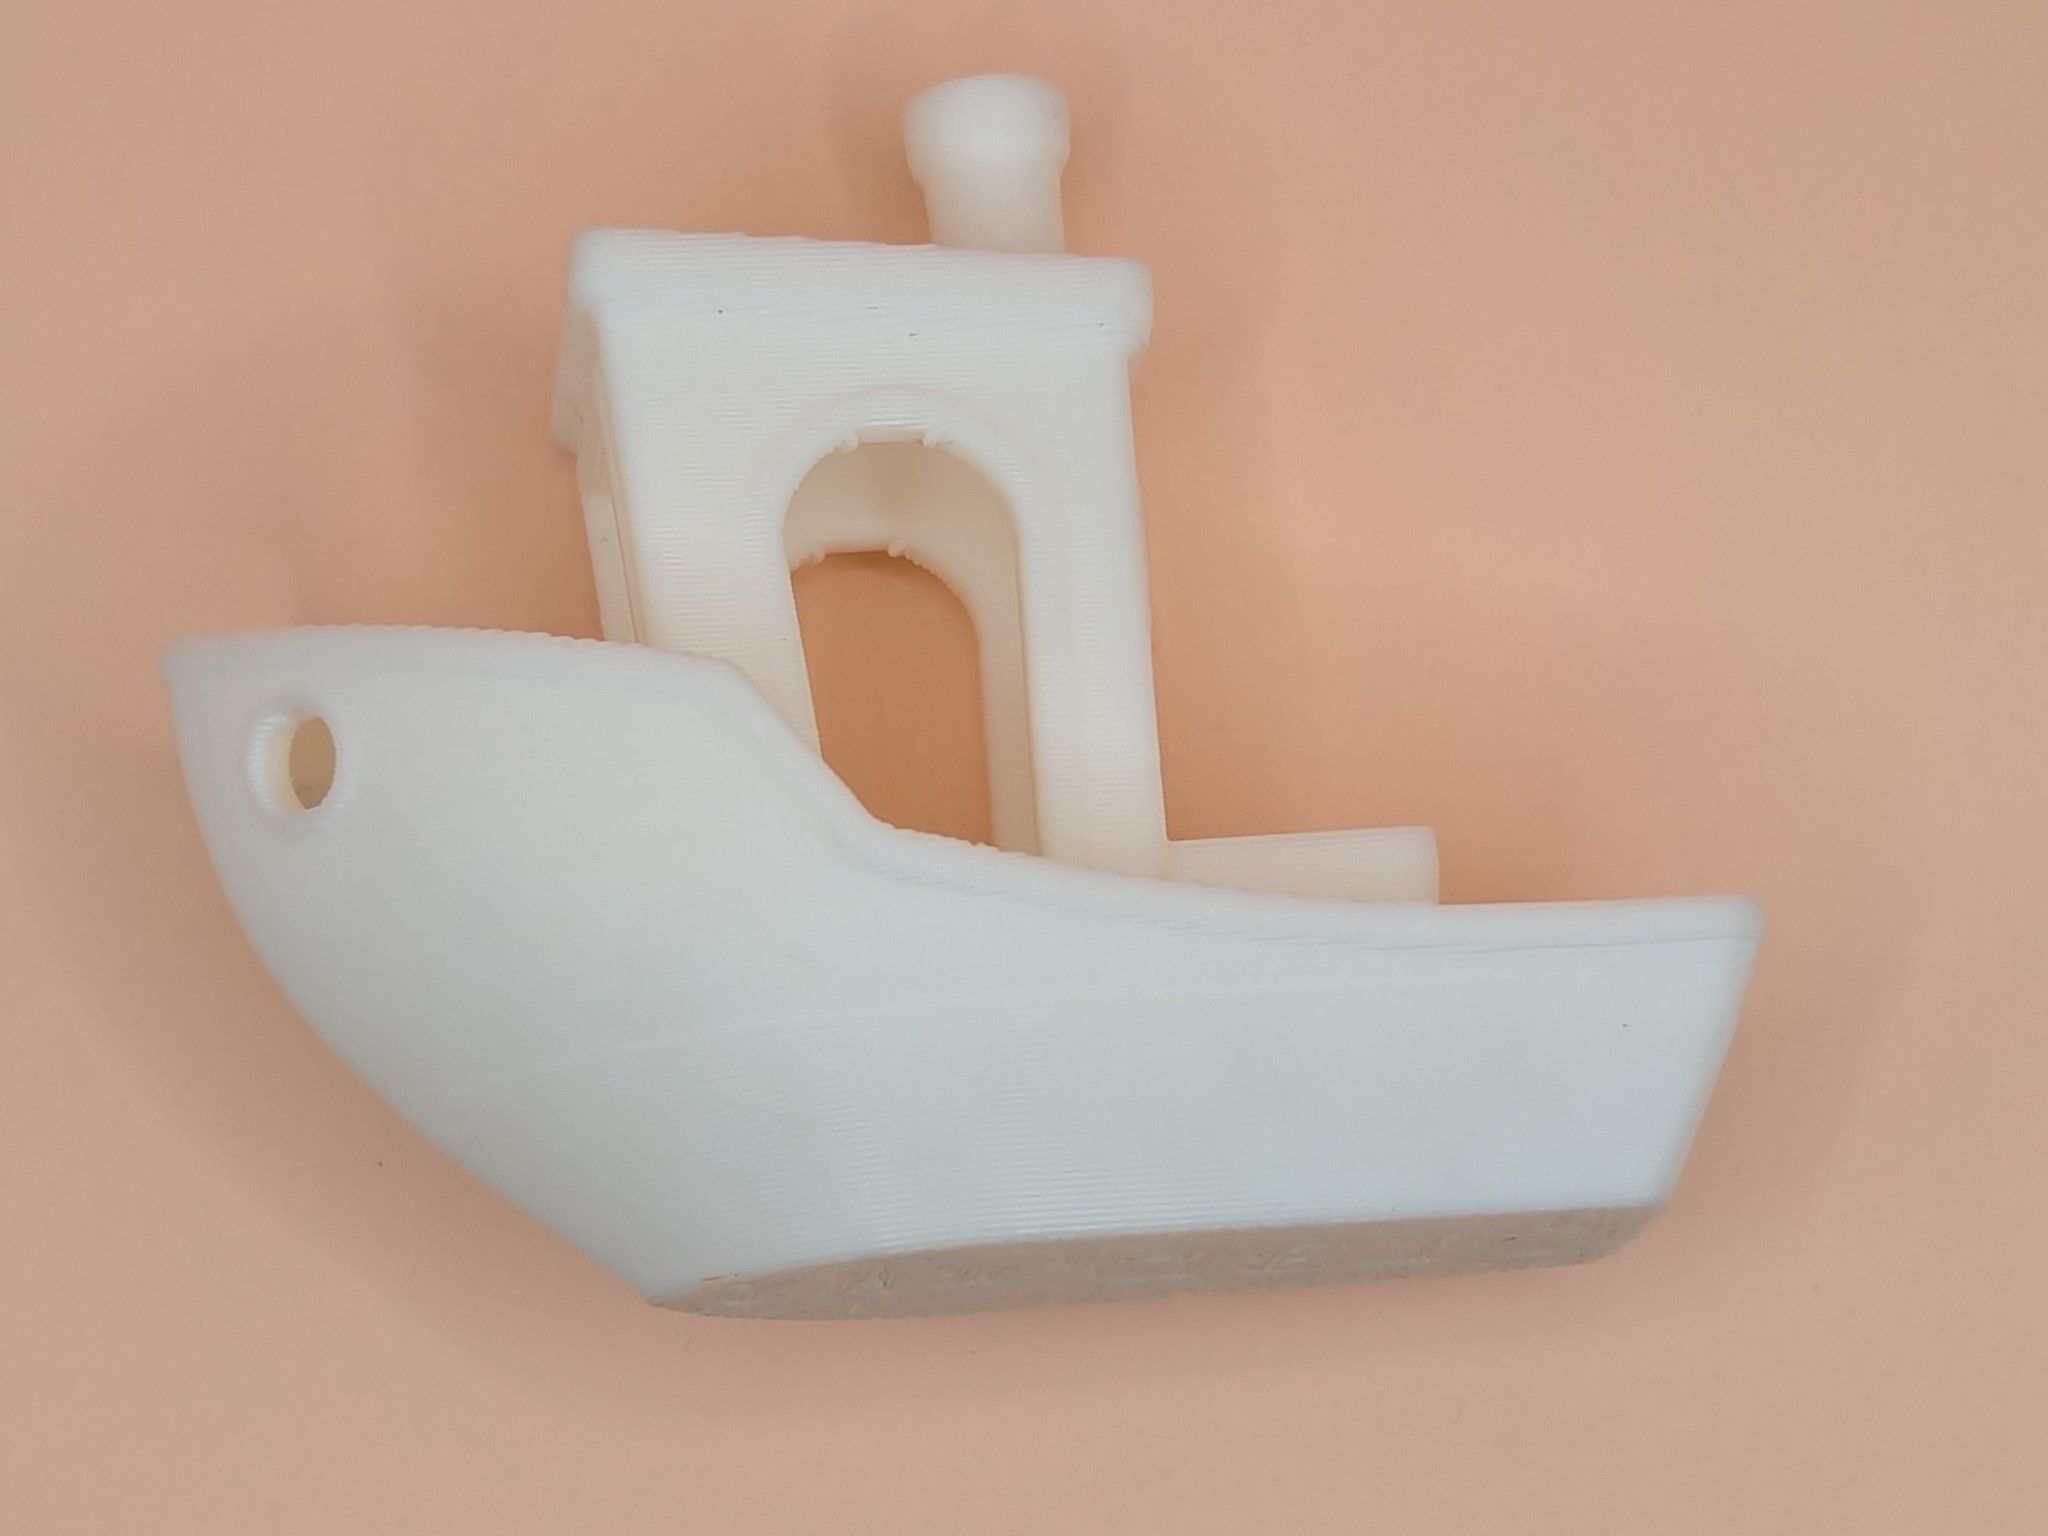
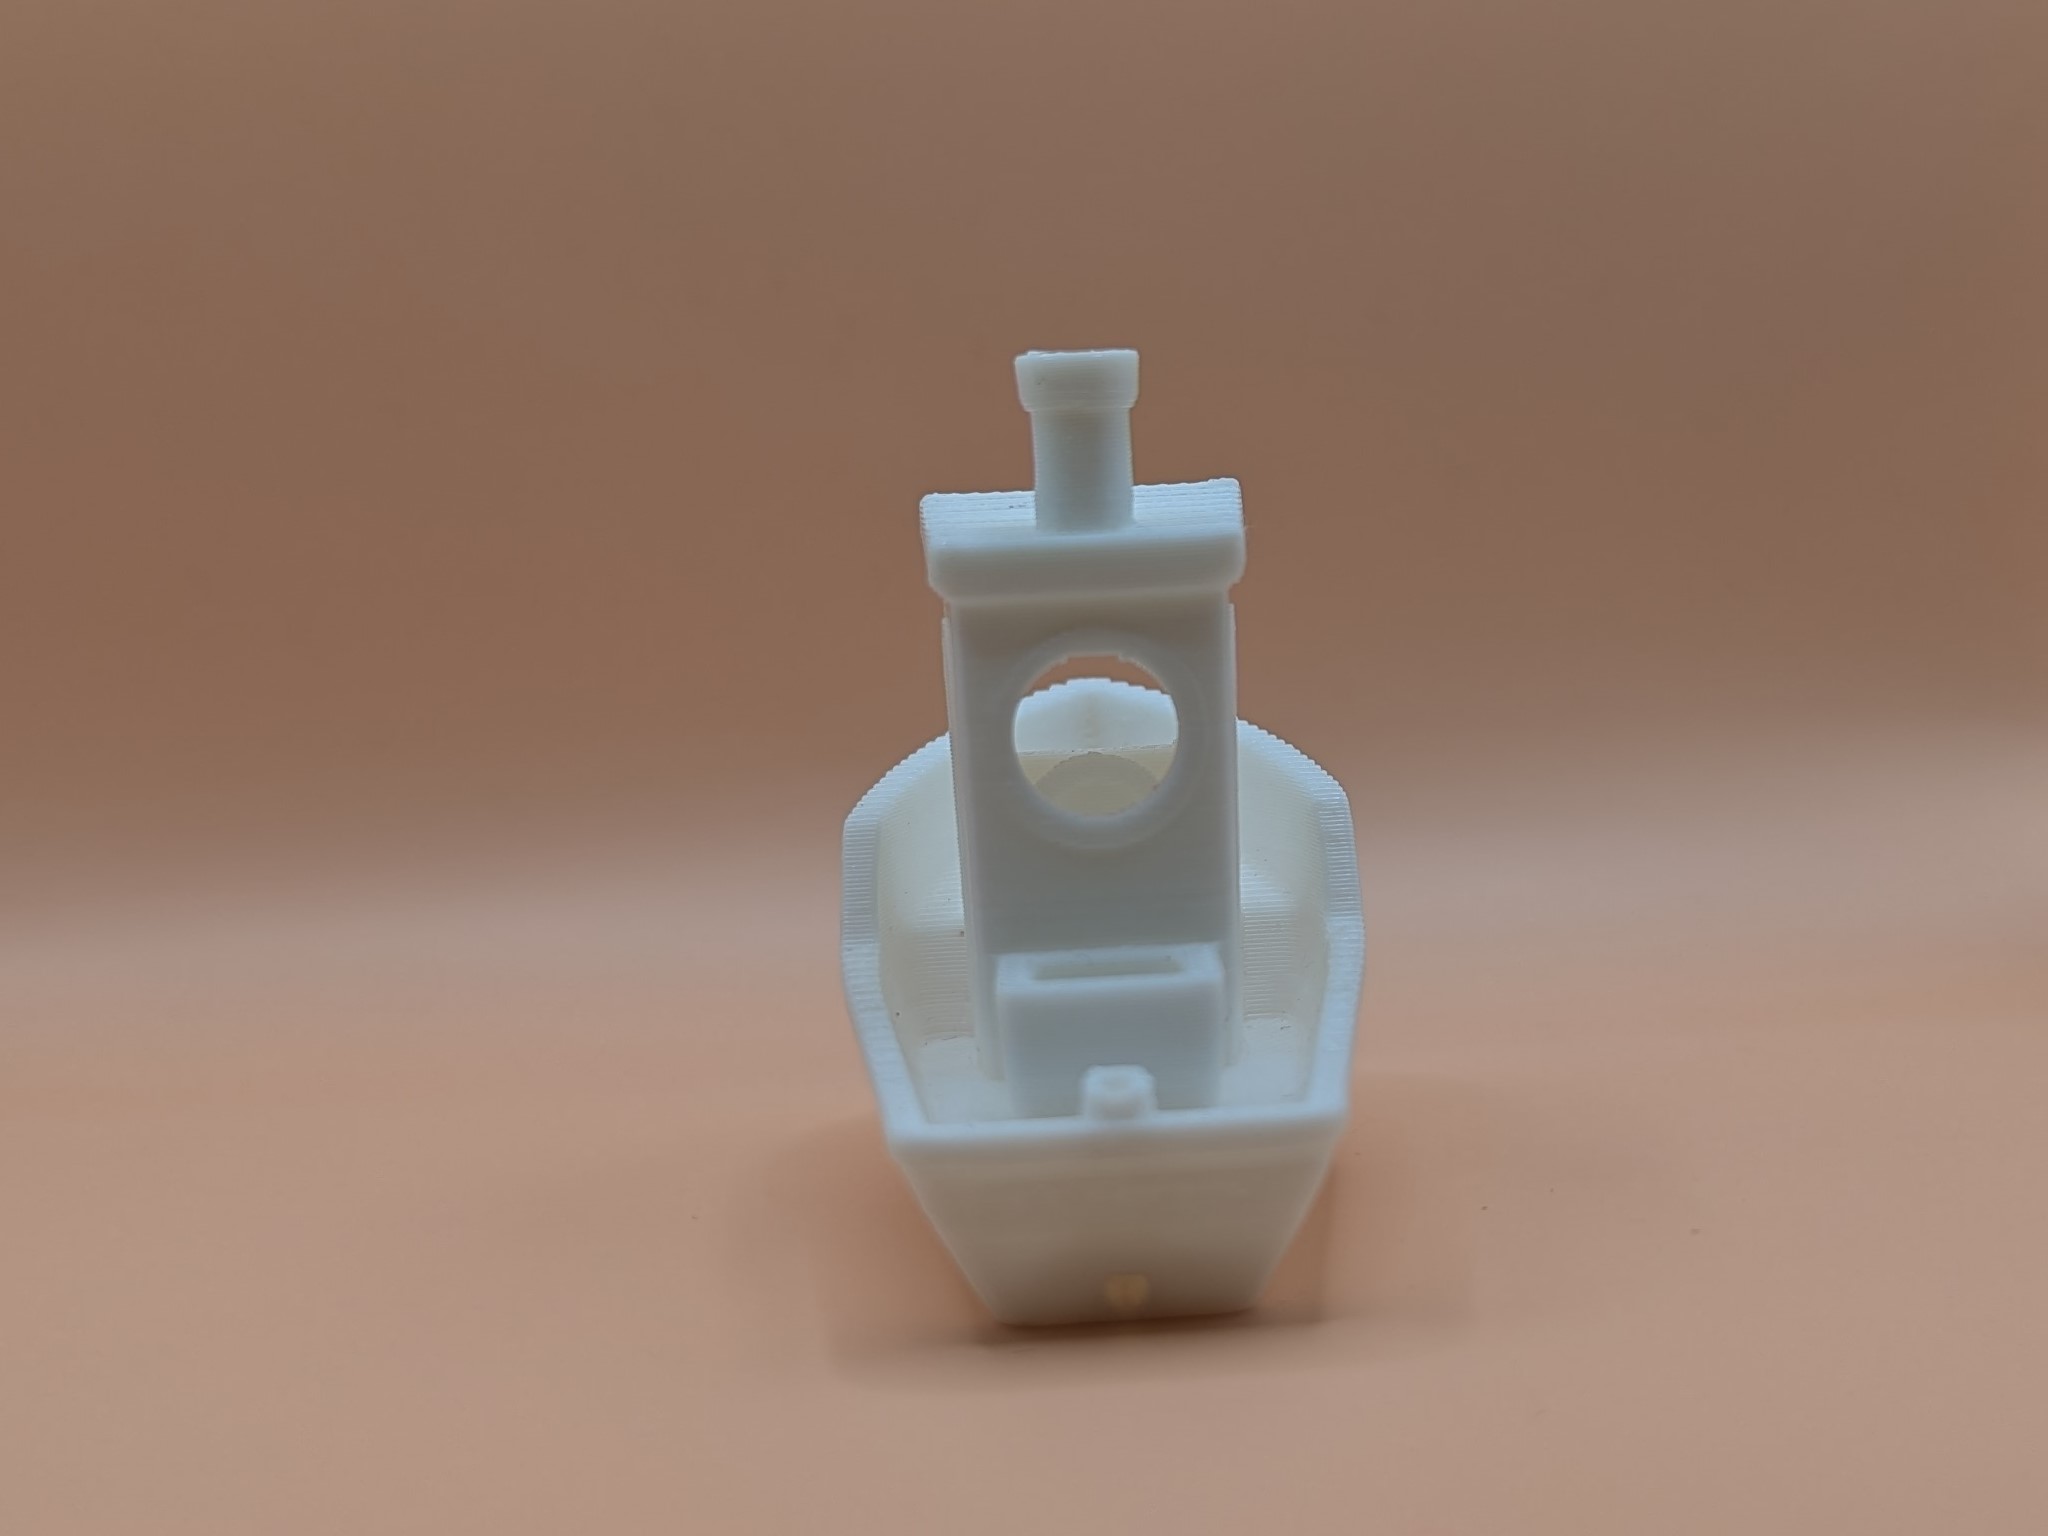
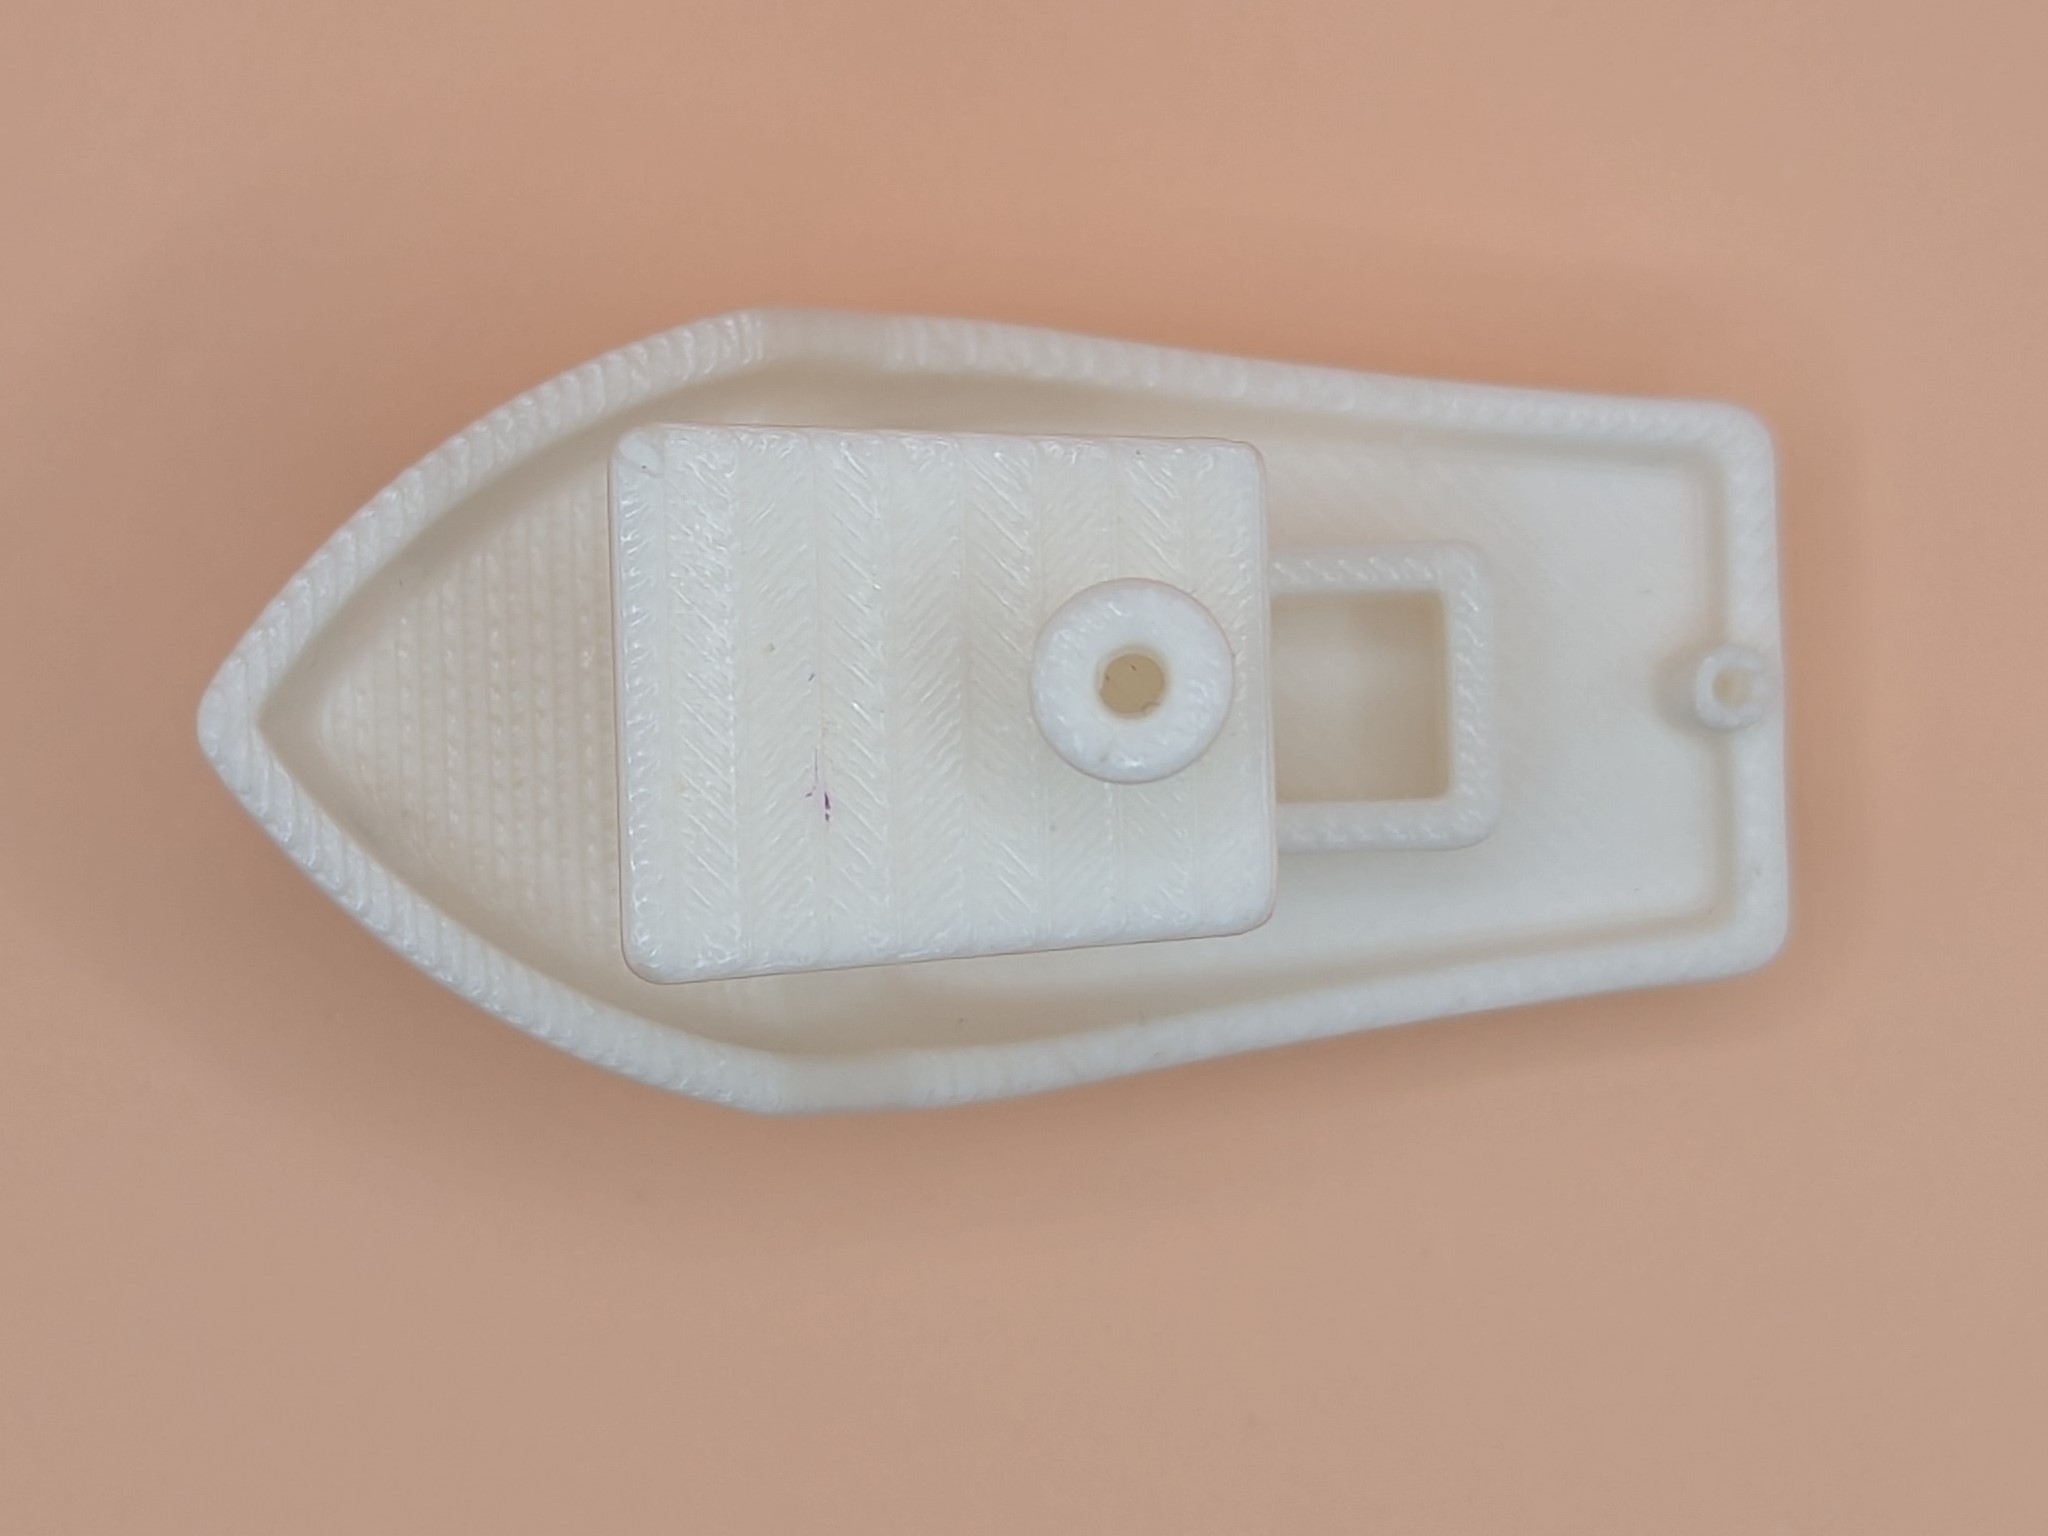
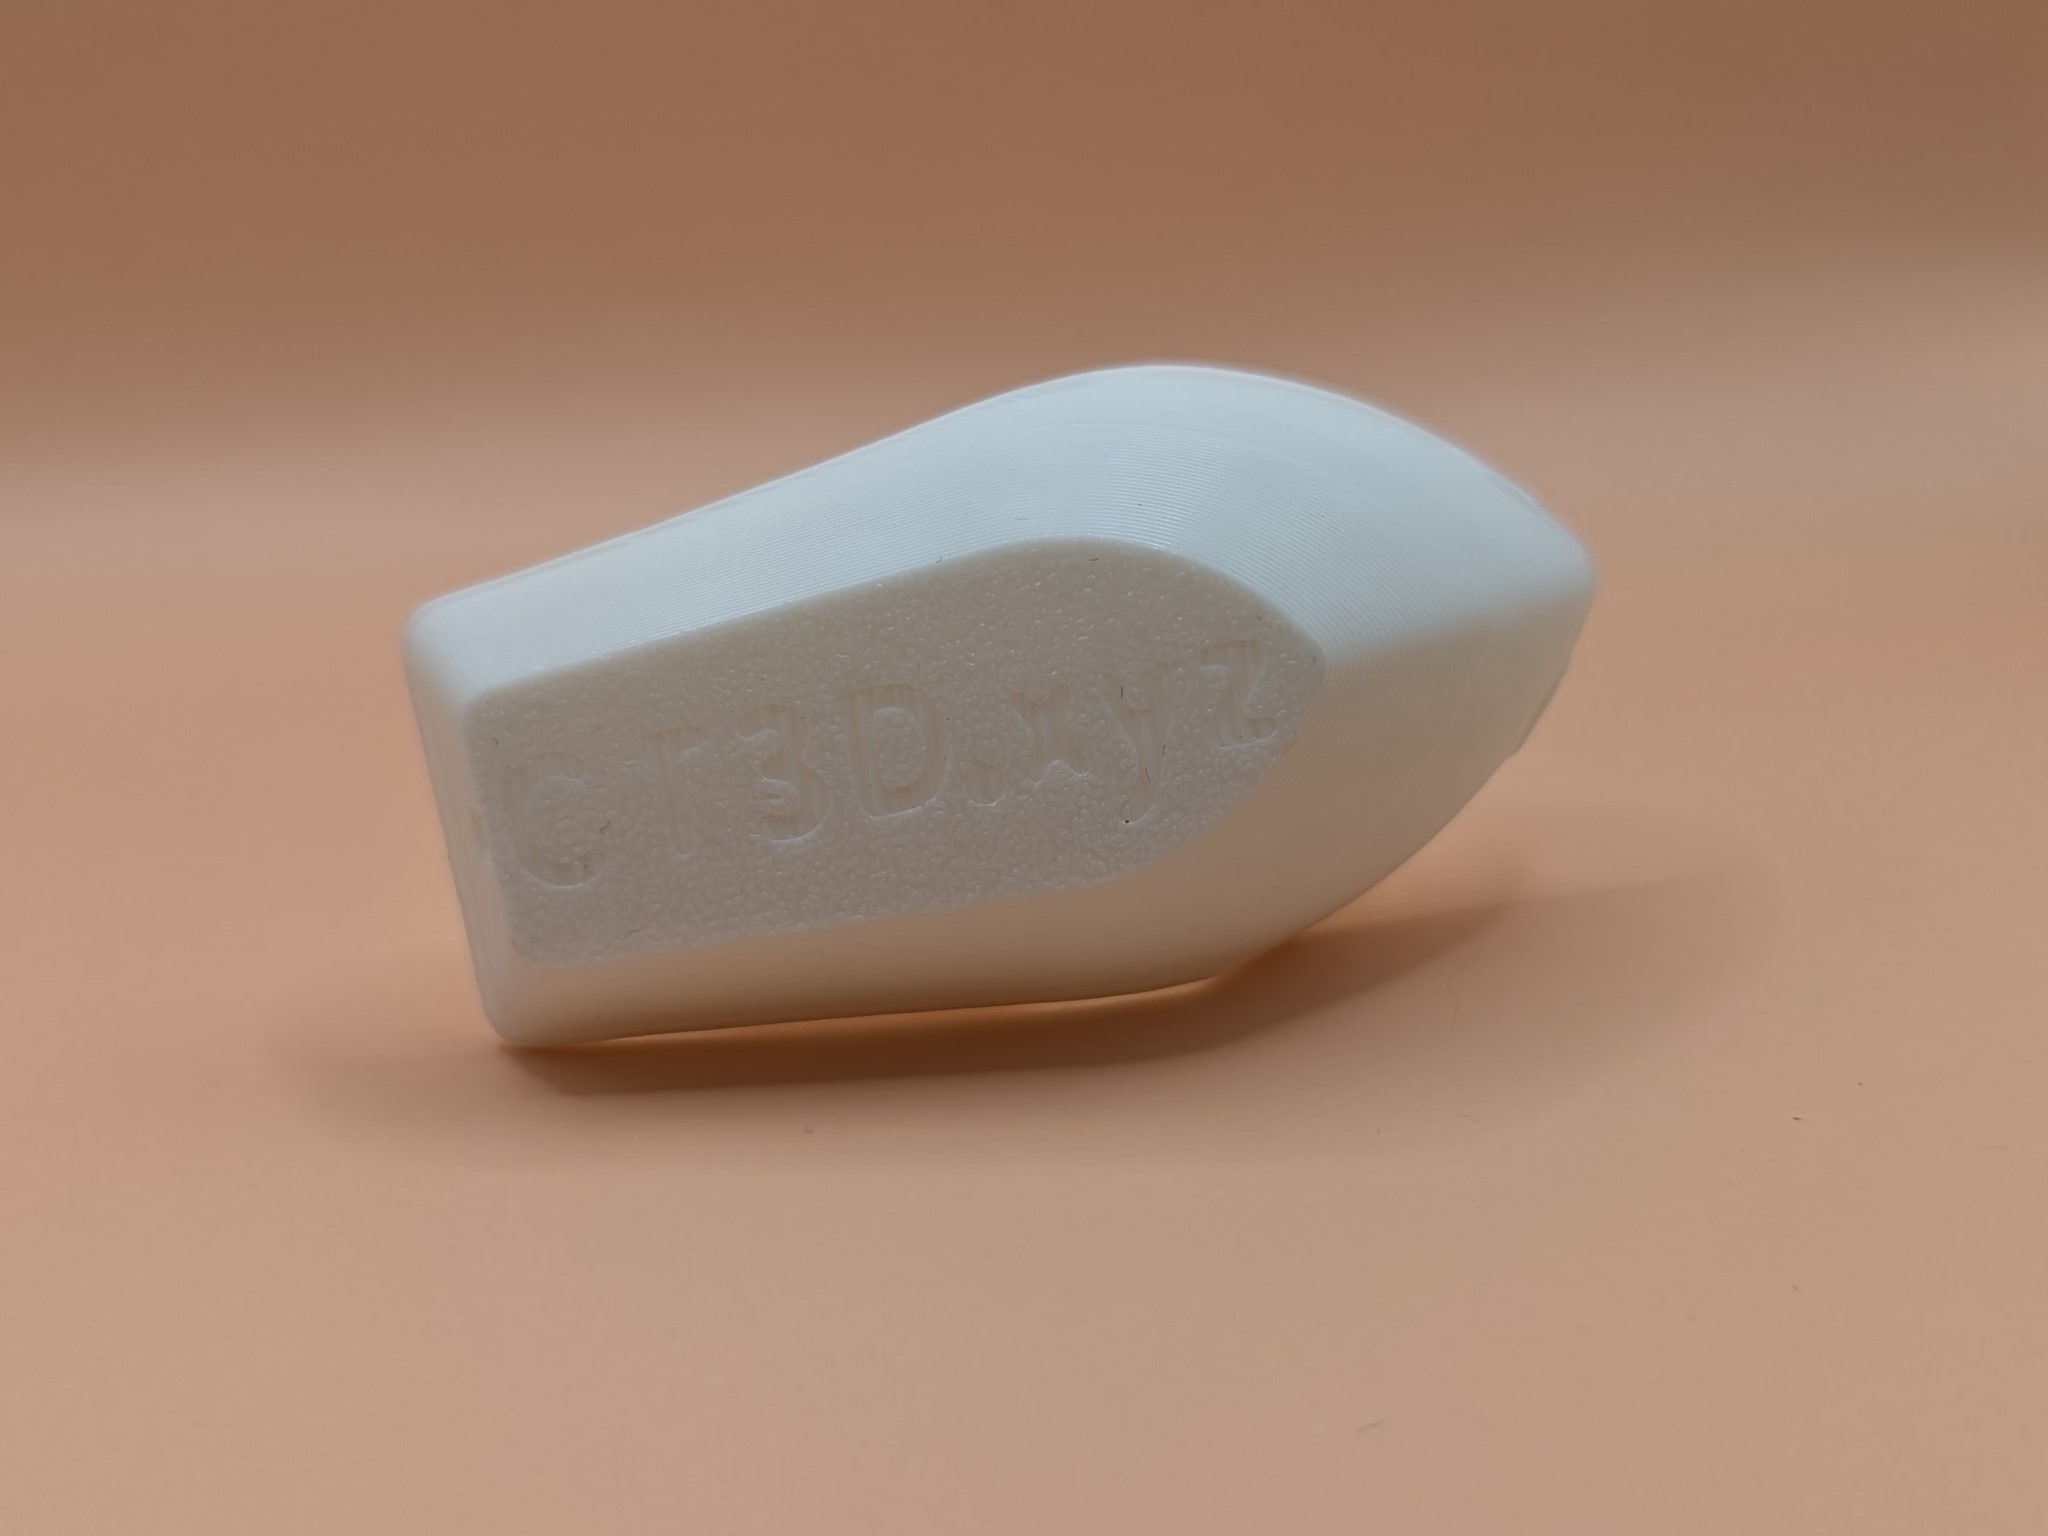
Following the 3D Printer tradition, I started with printing Benchy, the 3D Printed tugboat. I printed this with the regular feet on the printer because the anti-vibration accessory feet came in just after I was ready to print.
Overall, I printed 11 different projects (some of which are multi-part) in the first week. The breakdown of the prints into functional and toy categories is below.
Diving further into the details, the split of how many projects were a single piece (e.g. Benchy) and how many were multiple pieces (e.g. Coin Sorter) showed a fairly even split.
The full list of projects I built including their links is below in chronological print order:
- Benchy
- Brio Drawbridge (Incomplete, poor fit to tracks)
- Pass Through Illusion
- Coin Sorter (Incomplete, base damaged during assembly)
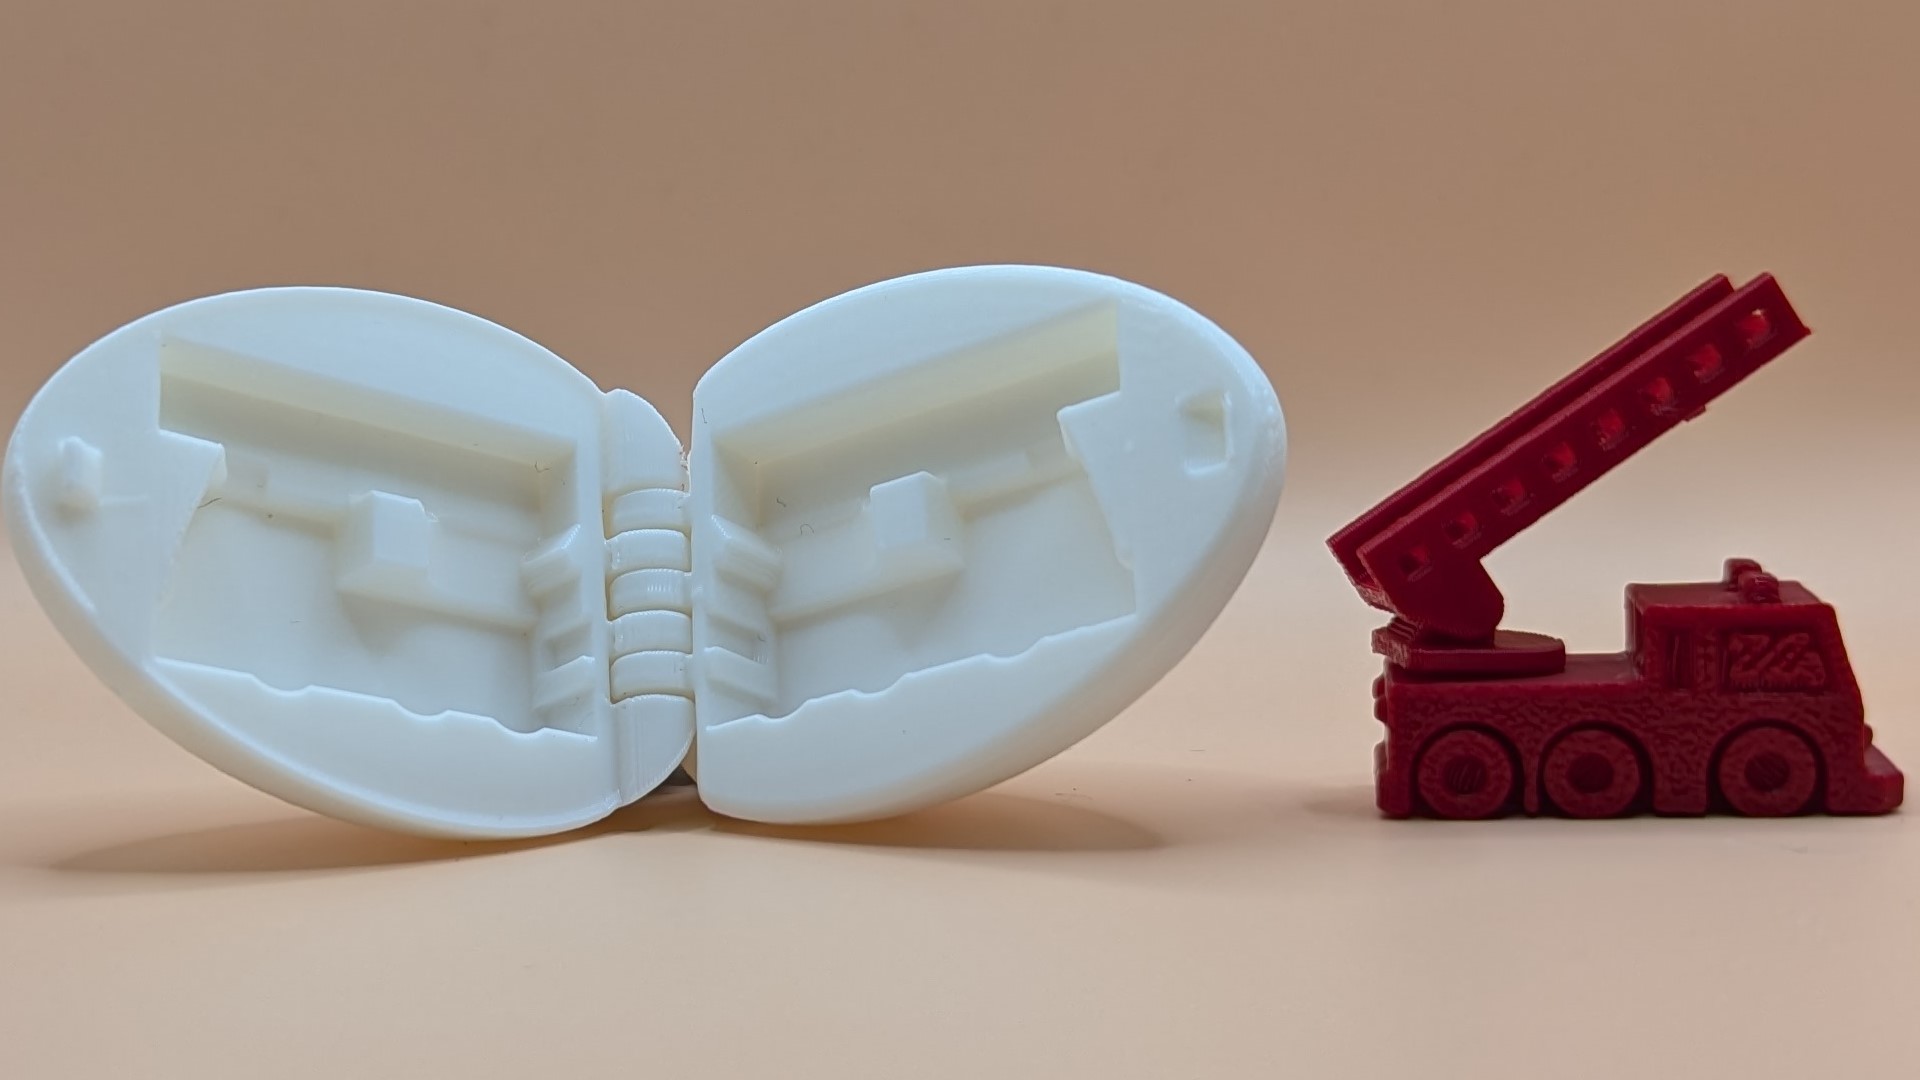
- Surprise Egg 5
- Brio Adapter Tracks
- Surprise Egg 6
- X1C Poop Chute
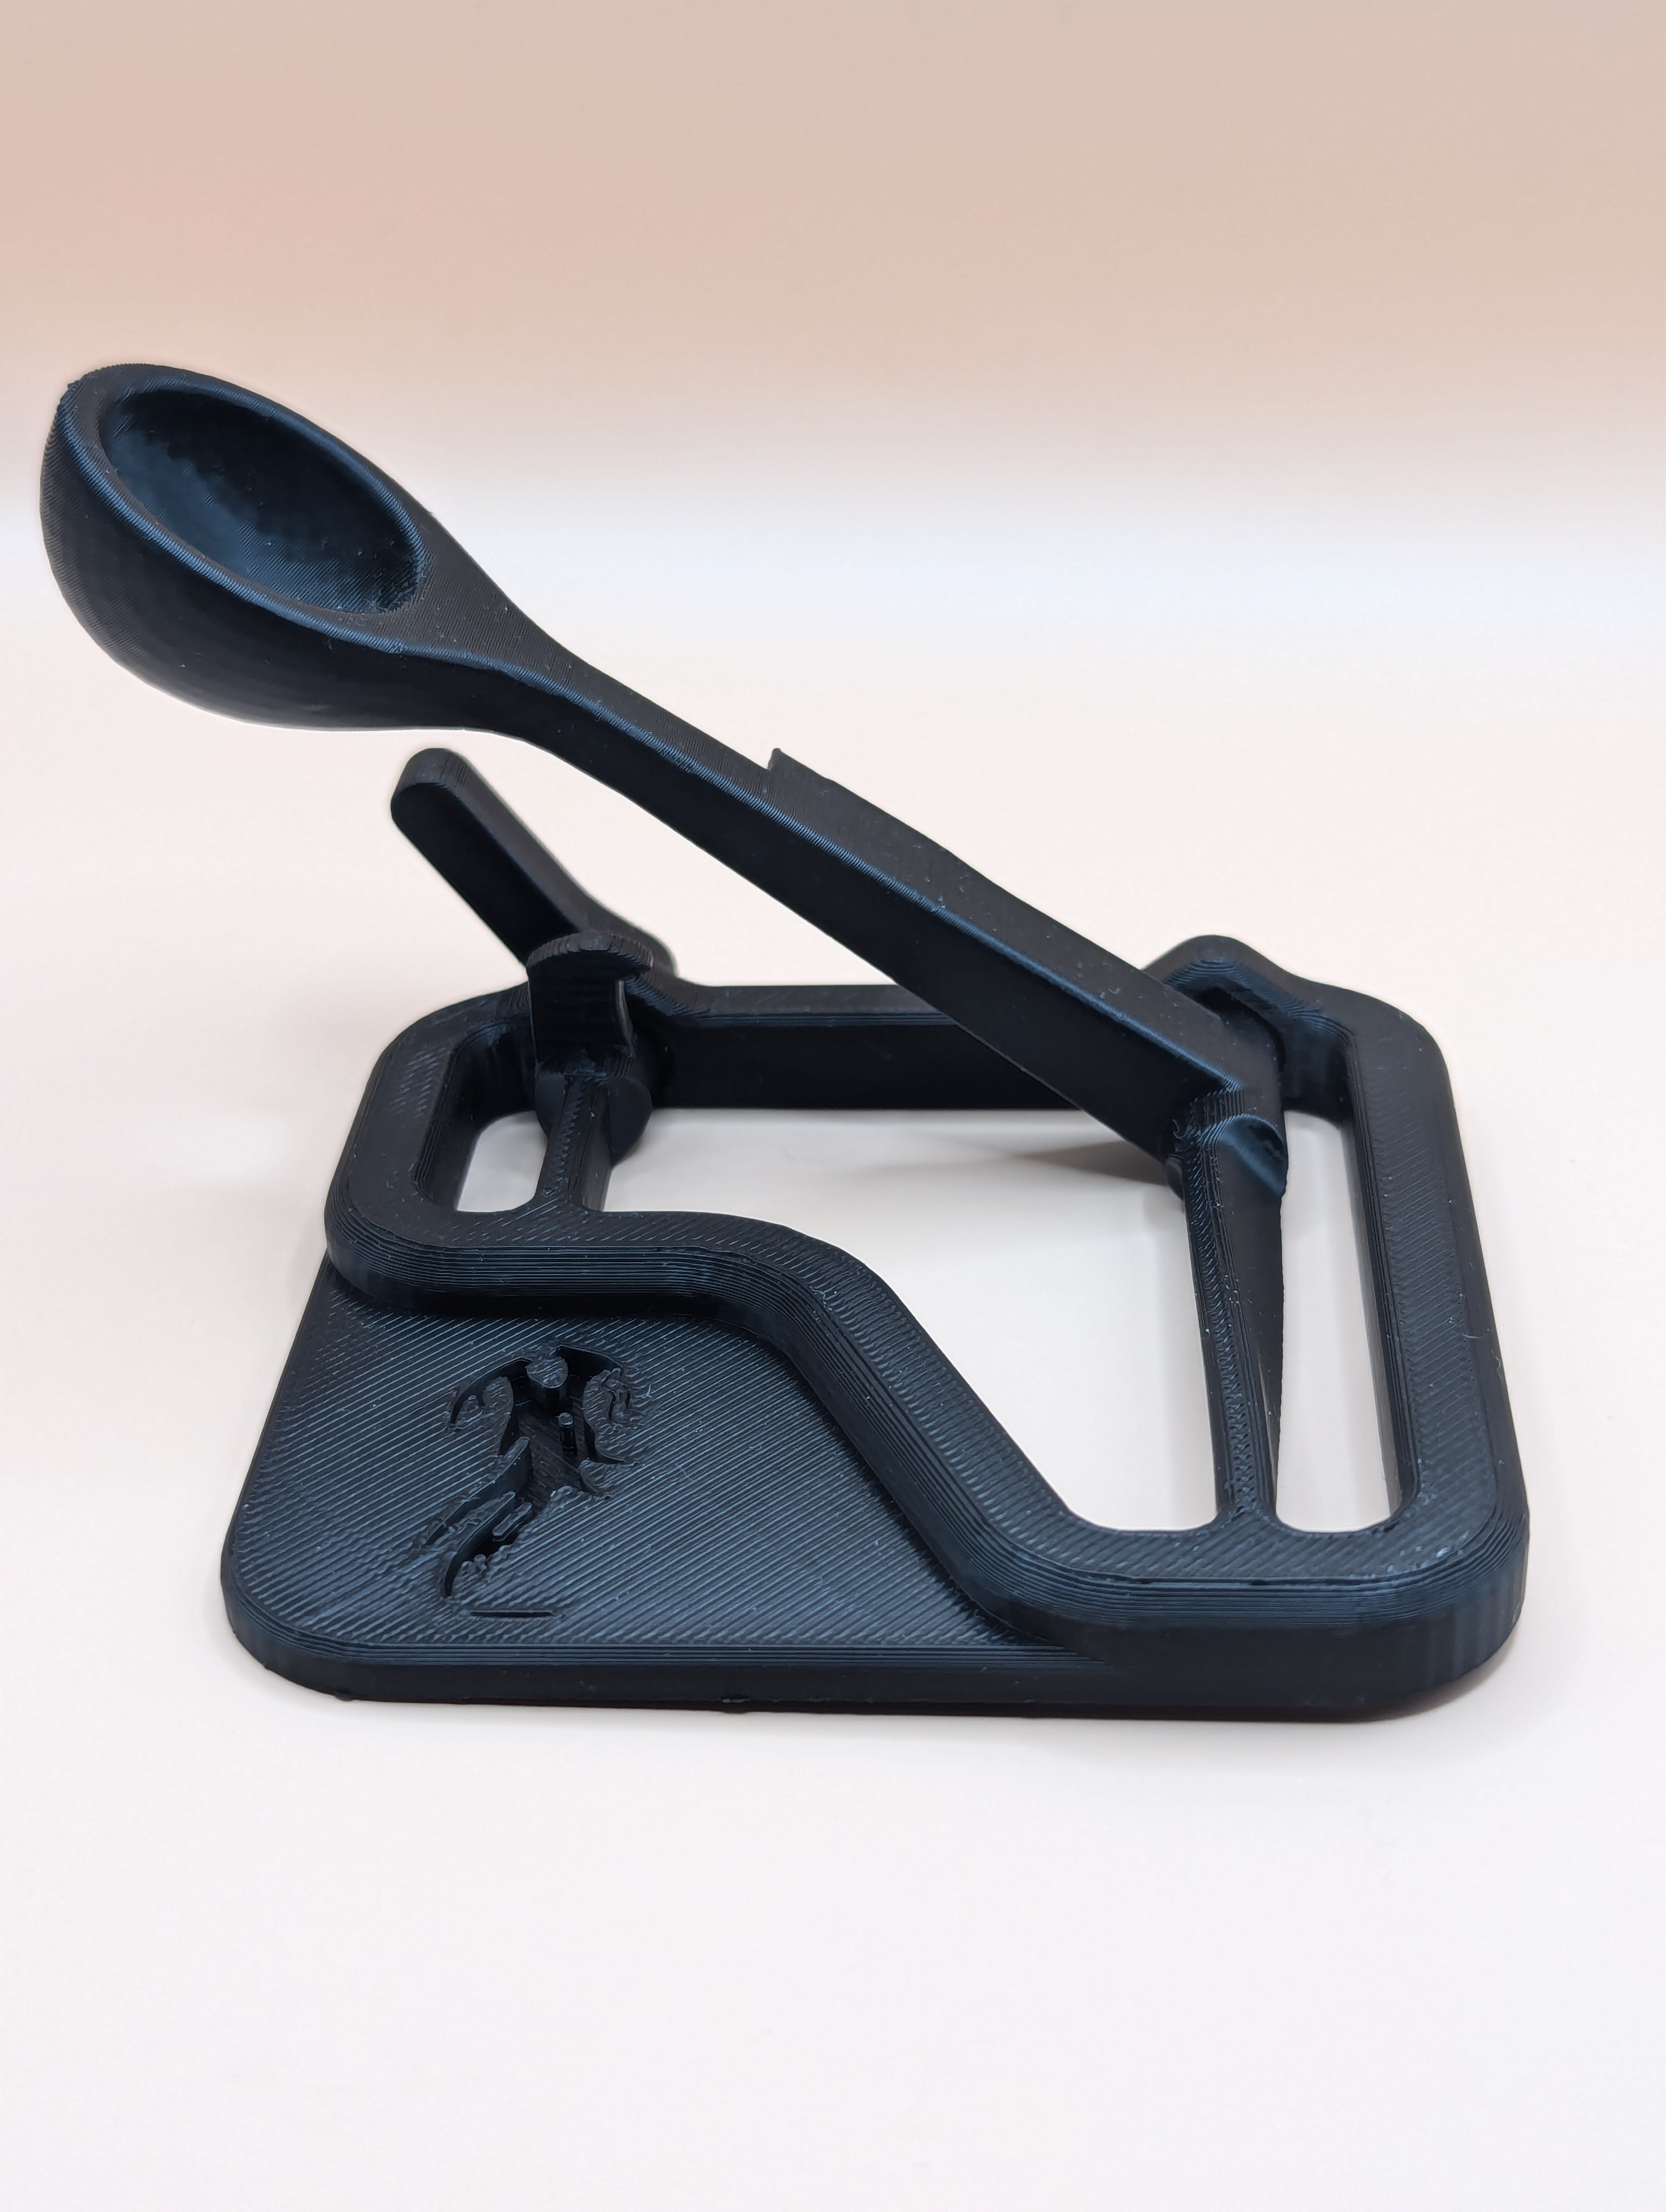
- Mini Catapult
- LEGO Compatible WWI US Trench Shovel
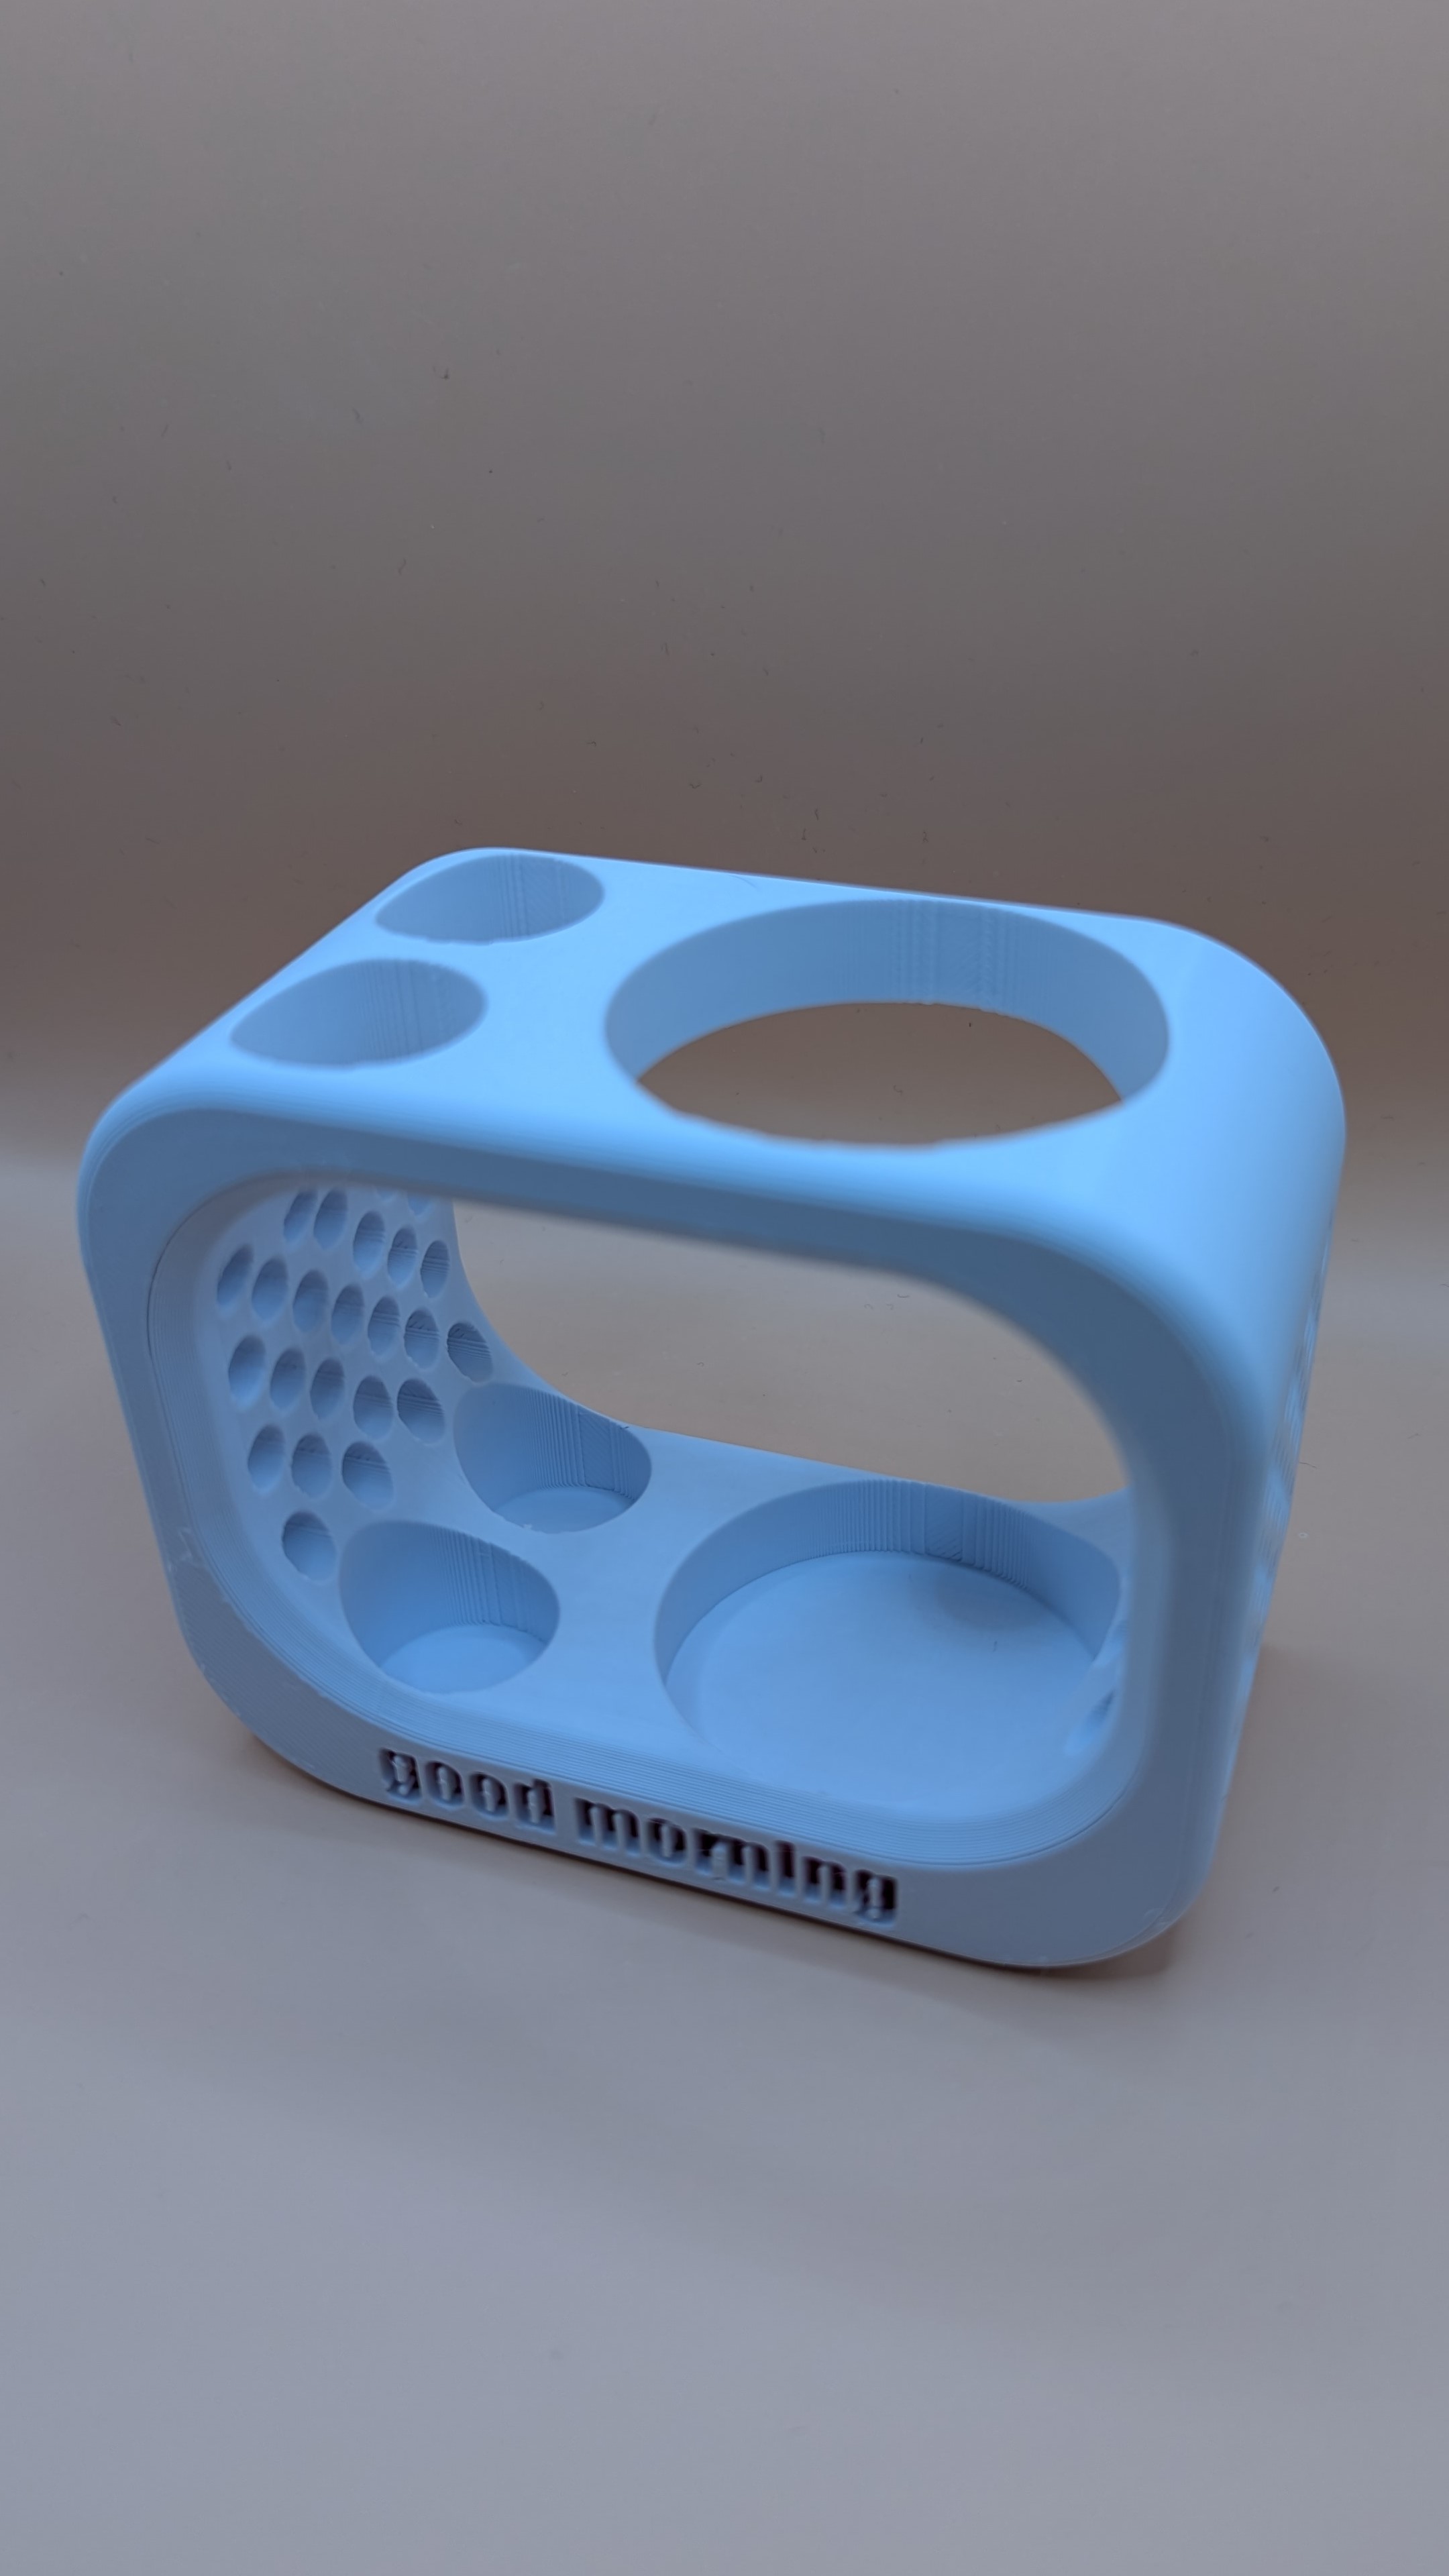
- Toothbrush holder
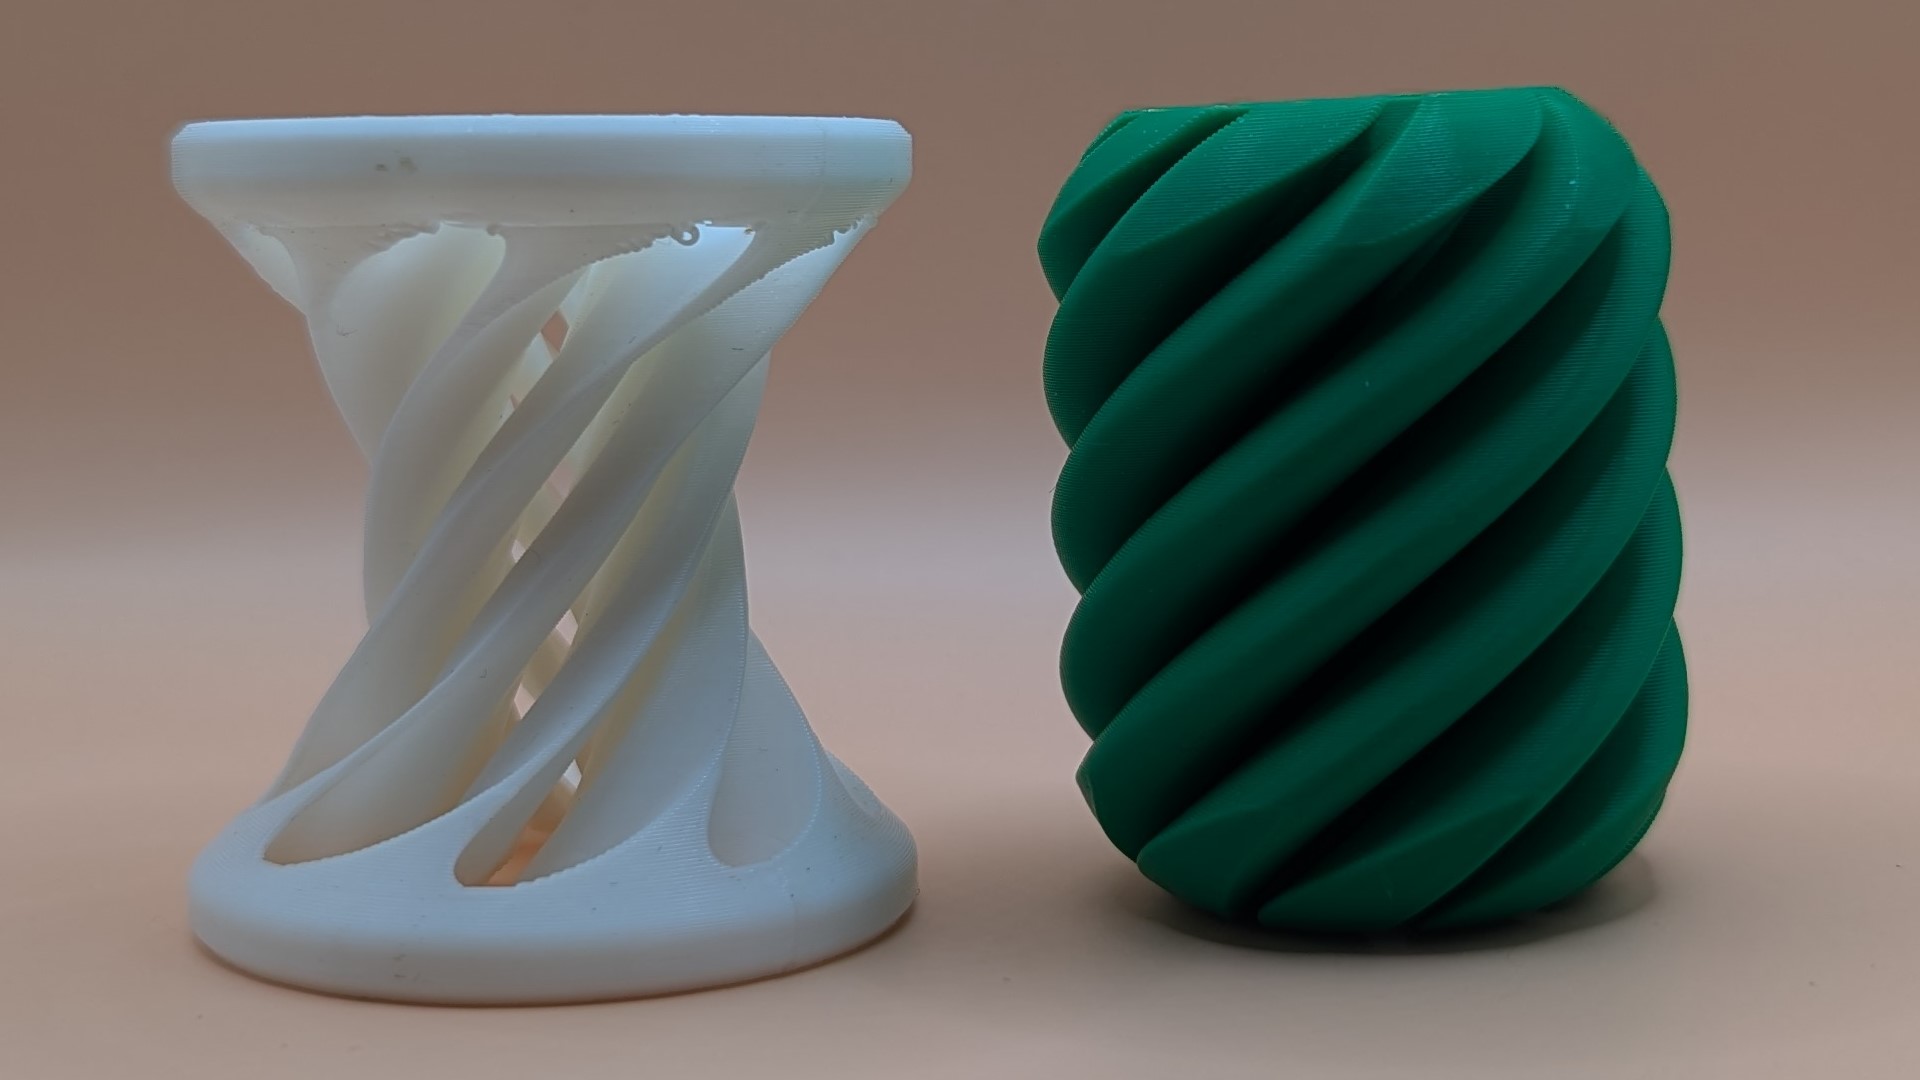
And here is how some of them turned out on the X1C.

What I Learned #
During the week there were a variety of things that I learned about actually using the X1C. Some of these are specific to my printer, and some are more general observations.
How to prepare the print bed #
With the X1C’s textured plate and PLA, it appears to be entirely unnecessary to use a glue stick. There is some talk online that the X1C used to (or maybe sometimes still does) come with a glue stick, but mine did not include one and for the one print I used one on, it did not make a meaningful difference.
A bigger issue I had with the print bed on the X1C was figuring out
which way the plate is supposed to be inserted into the machine. A few
times I put the plate in backwards (centered tab facing out of the
machine) and was still able to start printing. When doing this, the
printer might complain about not being able to determine the plate and
it also might collide with the plastic chute on the back side where the
plastic drops out. Although there are arrows on the plate giving the
correct direction, I never thought to read the plate.
Bambu textured plate with direction indicators highlighted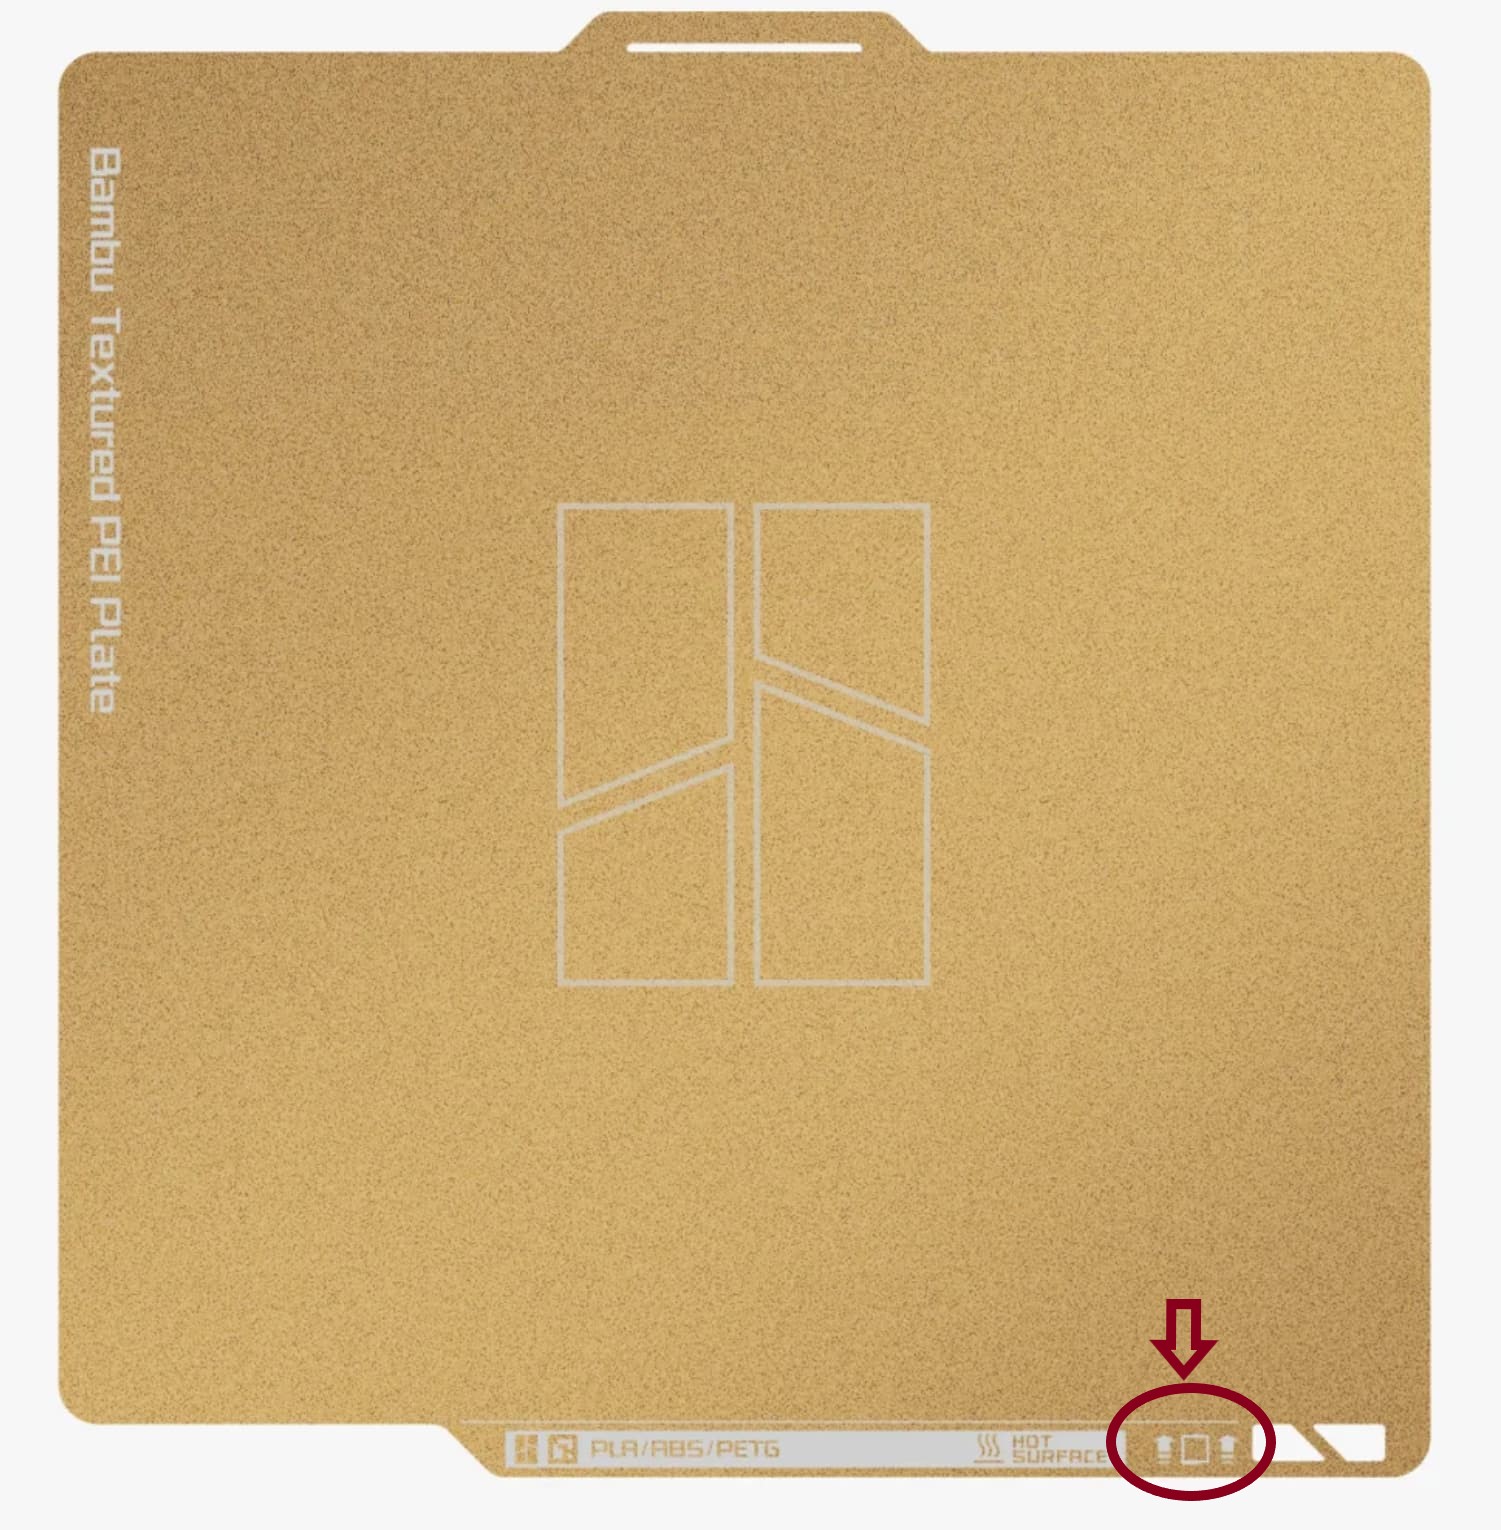
Printing in PLA doesn’t noticeably smell #
In the earlier days of printing, people would complain about the smells but this problem seems to be solved with the use of PLA. Previously, printing in ABS seemed to be the most common material used and it reportedly has the same smell as an electrical fire. The X1C has a carbon filter to reduce some of the impact, but there are many sources online that recommend using an additional filter inside of the print enclosure to absorb more of the smells before they are exhausted out into the room you are printing in.
Openly available models vary wildly in quality #
This point isn’t new to me since I’ve noticed this before when reviewing circuits that are posted online versus ones that actually make it into production. Designs that are available online can be impressive feats of engineering like the toy surprise eggs I printed with a print-in-place hinge or they can be clunky and barely functional like the coin sorter (I gave up on this one - snapping in the crank mount into the base was not a good fit and deformed my base. I did not want to expend the plastic to try it again). When making anything from online sources you should always apply caveat fabricator (Let the builder beware).
You should open the door when printing PLA #
Opening the door to lower the chamber temperature is something that is recommended by Bambu Lab when printing filament has a softening temperature below 60°C with a heatbed temperature above 45°C. For Benchy I did not do this and it came out fine, but later on I was getting a lot of spaghetti failures when trying to print Surprise Egg #5’s fire truck. I would guess that since Benchy was starting from room temperature and has a fairly short print time it was OK, but once I started printing items back-to-back the chamber was getting too hot and I had poor adhesion of the PLA to the textured plate.
Conclusion #
3D printing is a lot of fun and I’m very happy with my X1C purchase. If I didn’t have kids, I might be more tempted to order prints from online services such as 3dhubs.com, but with kids, the ability to grab toy models and have the part in hand within a few hours is a must have.